We got a lot done this month!
Finally some pictures!
Neil's vacation is over but we're hoping to keep up the momentum we gained during the last couple of weeks. It's so great psychologically to see such tangible results to our efforts. As each piece of hardware and trim goes back on the deck -either all cleaned up and shiny or else actually new- Zora looks more and more beautiful and whole. She actually looks like a nice, real boat now, not just a shell....
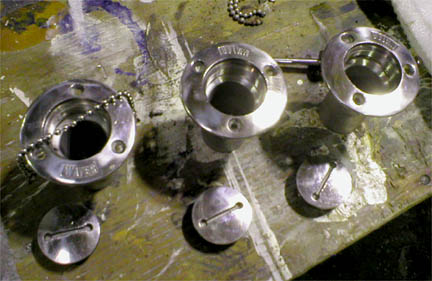
It took a lot longer than anticipated (OF COURSE!) to get everything ready to rebed. We used the ubiquitous 5-in-1 tool and lots of Adhesive Remover... here are a few of the deck fills almost ready to go back in:
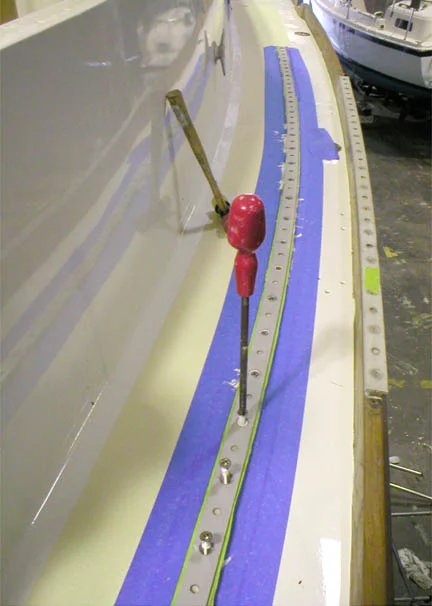
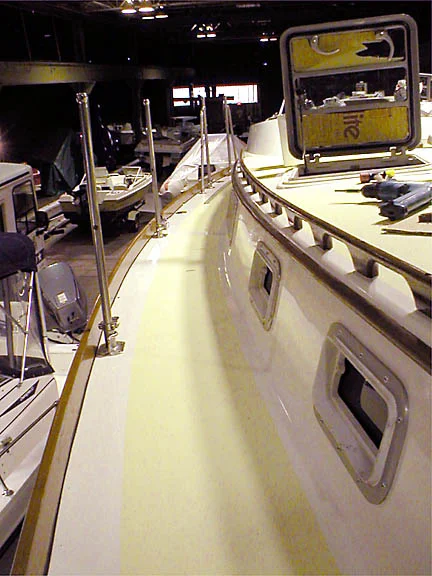
Here's a picture during the installation of the genoa track. We used miles of masking tape and 3M101 bedding compound! Note how shiny the coaming sides are! Nice Awlgrip job, Neil!!
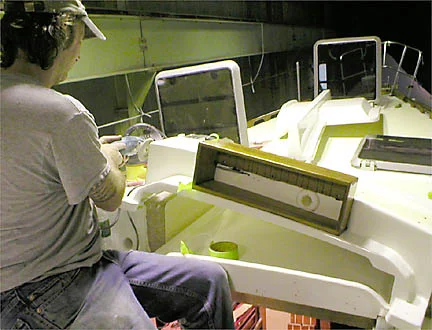
Here's a "during" shot from the hatch and port installation. These were the first things we replaced, and we probably should have started with something smaller as we perfected our bedding technique. We used 3M 101 and did the 2-step process where you tighten down almost all the way, let cure a few days, then tighten the rest of the way. Heeding Don Casey's advice, we masked the ports and cabin sides well and intended to clean up the bedding "sploosh" overflow by slicing around the ports with a utility knife after the bedding cured and pulling it off with the tape. Unfortunately this doesn't work as well in reality as it sounds like it will. The 101 cures at different rates depending on how thick the "sploosh" is, and even after letting it sit for 8 or 9 days there were still soft, messy spots. On later hardware we learned to use a small plastic spatula to scrape up the big, wet, messy splooshes immediately, then carefully peel up the tape and clean up right away with denatured alcohol. This allows for a much neater "bead" anyplace theres a wide area of bedding compound (which was really only an issue on the ports!) and is just neater and easier all around. Any extra small splooshes that occur -from the final tightening down of the fasteners after a few days cure- are easy to clean up with alcohol if you do it immediately.
So we let it all set up and then it was quite a job to remove all the tape and overflow.... oh, well, it's all off now! Stanchions and deck fills are back on (Neil had quite a time straightening the 4 bent stanchions, but they are nearly perfect now.) We also put on 3 of the 4 new handrails. We really lucked out on the forward ones. They are over 12 feet long. We searched and searched and none of the manufacturers/importers carry new teak rails that long. We were afraid we'd have to use shorter sections, which would not have been as pretty. Then we found that Defender had some older ones left over from when they used to make them. They had only a few left. We paid for 2 by phone, and then had to figure out some way to get them to Maine, since they are way oversized for UPS. We put the word out and through the generosity of the sailing community on the internet, found someone who lived near Defender to pick them up for us, and someone else to pick them up from him and bring them to Maine. Thanks guys!!!! So now we have perfect, new replacements. Here they are installed with the first couple sealer coats of varnish applied.
On the aft cabin we only installed one. We'd matched the old handrails to the new to drill the holes but the new ones are a tiny bit shorter. On the starboard side it was fine, but on the port side the base didn't entirely cover one of the existing holes in the cabin-top! Go figure! So Neil has it back down on the workbench and he's epoxying a chunk of teak to that section. He'll shape it to match as well as possible while enlarging it enough to cover the hole.
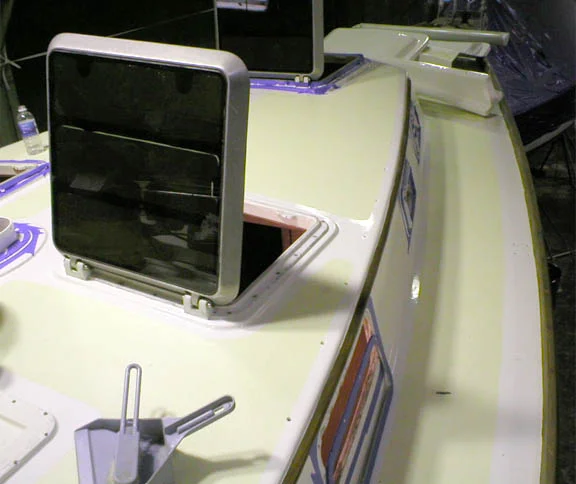
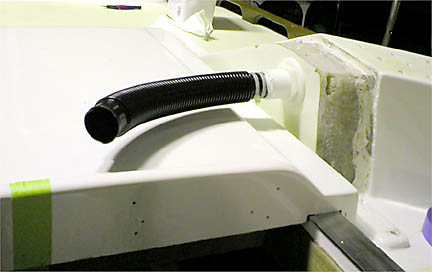
He's been working on a lot of teak projects lately, and says it's so much more enjoyable than fiberglass work! He's built a gorgeous box for the instruments in the cockpit. We wanted to mount them over the companionway so that they're easily readable from the helm or anyplace else in the cockpit. Another Mariner owner had built a similar box over the companionway and it seemed a good solution. We needed to route the wiring there, so, while the headliner is down, we cut an access hole in the plywood support to allow us to reach up into the molded coaming that curves up to form the forward part of the cockpit. However, the area over the companionway is a seperate piece of fiberglass molded to form a spray hood, which gets bolted to the main cabin mold. Neil came up with a great solution: he installed a plastic through-hull fitting into the cabin side of the coaming, to which he attached a piece of tubing which attaches to another through-hull fitting in the spray hood behind the new box (below you can see it before the spray hood piece was fit).
The box itself was quite a little project. Since both the back and the bottom meet curved surfaces, it was not at all straightforward. The bottom was carefully carved to fit with cabinetmakers' tools; the back was kerfed and bent to fit. the box was seated in black Lifecaulk (like the bead around the toerail) and fastened with screws. The front panel will be white Starboard.
Attaching the spray hood was not straightforward, either! We knew it was going to be difficult, since removing it had been a bear. It was somehow stuffed into the space and was under tension: we could not set it back in place after removing it. So we got out the grinder again and ground down the edge little by little until we could tap it into place.
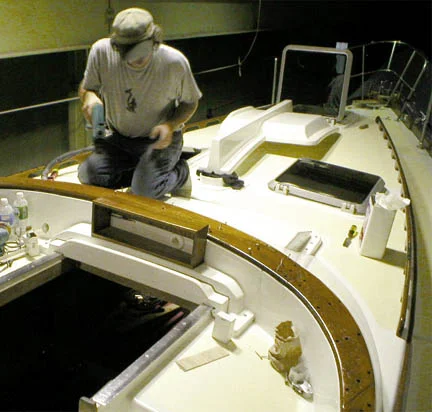
The last thing we did Sunday afternoon, to wrap up two weeks intensive boat work, was to reinstall the cockpit coaming cap rail. The long teak rail on the port side had broken and Neil shaped a new piece out of teak. A couple of sealer coats of Epifanes and the teak looks great. This was a very gratifying afternoon's work:
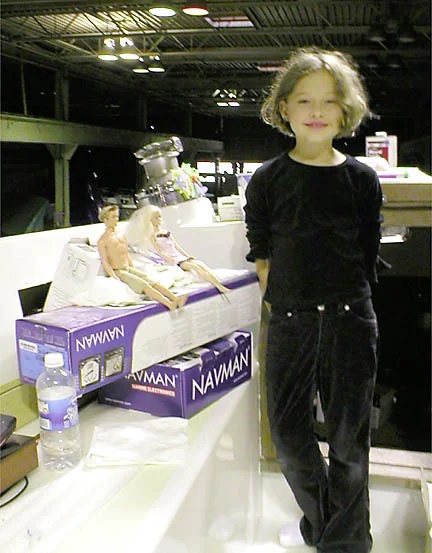
Meanwhile, Olivia has turned the cockpit into a Barbie vacationland! (This picture was taken before lunch, when Barbie and Ken went to Neil & Olivia's Tattoo Parlor and got Sharpie marker tattoos!!!)