Replacing hatch backing; Installing cabin side liners
Well, we've been frantically trying to get as much done as possible before this weekend. That's because the boat is being moved outside in a day or so. Portland Yacht Services hosts the Maine Boatbuilders Show every March, so all of the boats stored inside get shrink wrapped and moved outside for a couple of weeks. That's a bummer for us, since we can't really work on her interior during that time. Neil plans to work on a few things like: clean up and start repairing the ports and hatches, start building some of the components for the nav station, and finish sanding the bottom. However, on our "master plan" we were supposed to be completely done with the big carpentry items by now, and, obviously, we are no where near that goal. Sigh.
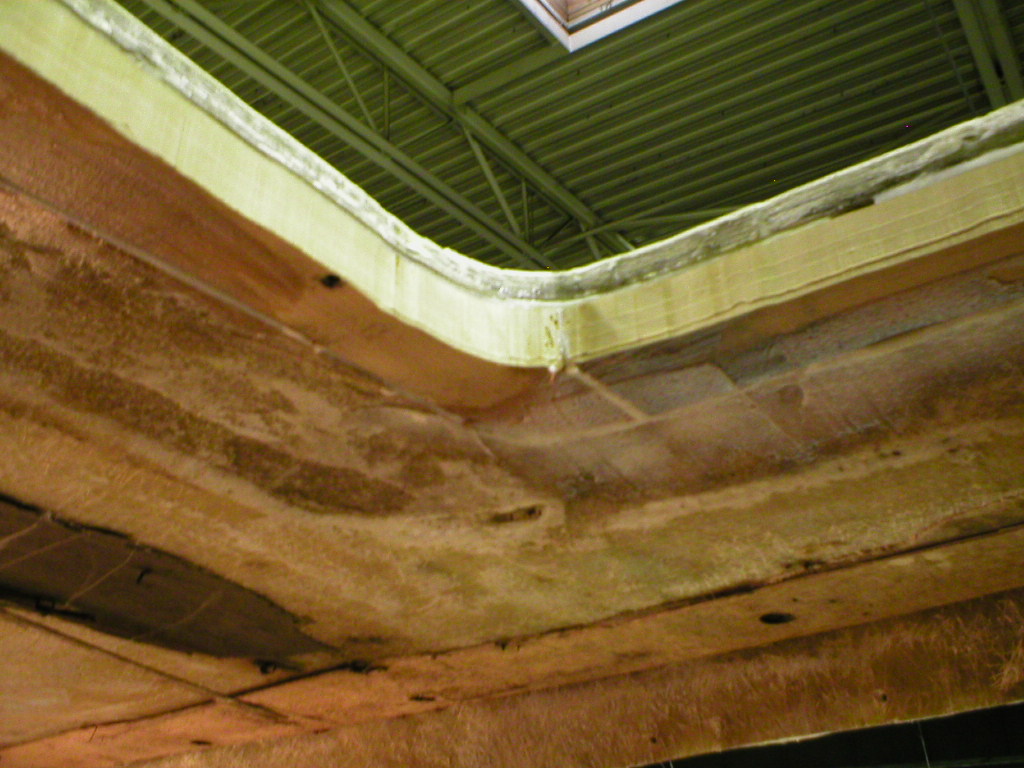
However, we ARE making progress. Neil did a beautiful job replacing the rotten wood hatch backings inside the cabin. You can see that cabin top is solid around the hatches (thank you, Mariner Yachts!) and then flares out, thicker, with core where there are no penetrations. The lighter, yellower area just under the fiberglass is the new wood backing Neil epoxied in for the hatch to secure to. There's also some 1/4 inch plywood epoxied around that, not shown in this picture, for the headliner to attach to. It was also rotted and has been replaced. They are so solid and totally epoxy coated so they won't rot again! We've also finished replacing the cabin side liners, and they look great. We felt that the original all-teak cabin was a little dark, so we took a tip from Hinckley and other yacht builders and used white Formica rather than teak around the ports. We'd seen this done on another Mariner 39, and it really does brighten up the cabin! There's so much teak and fine joiner work already that it still looks very rich and "yachtie". As noted earlier, we removed the very rotted teak-faced plywood liners all the way down to the fiberglass cabin sides.
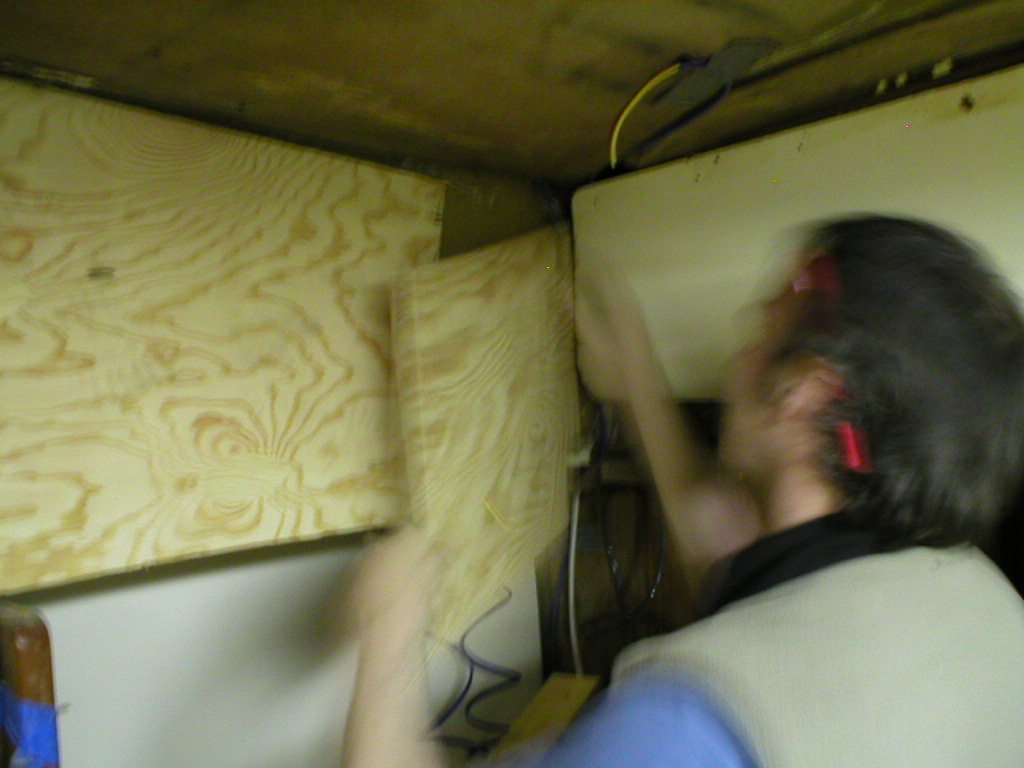
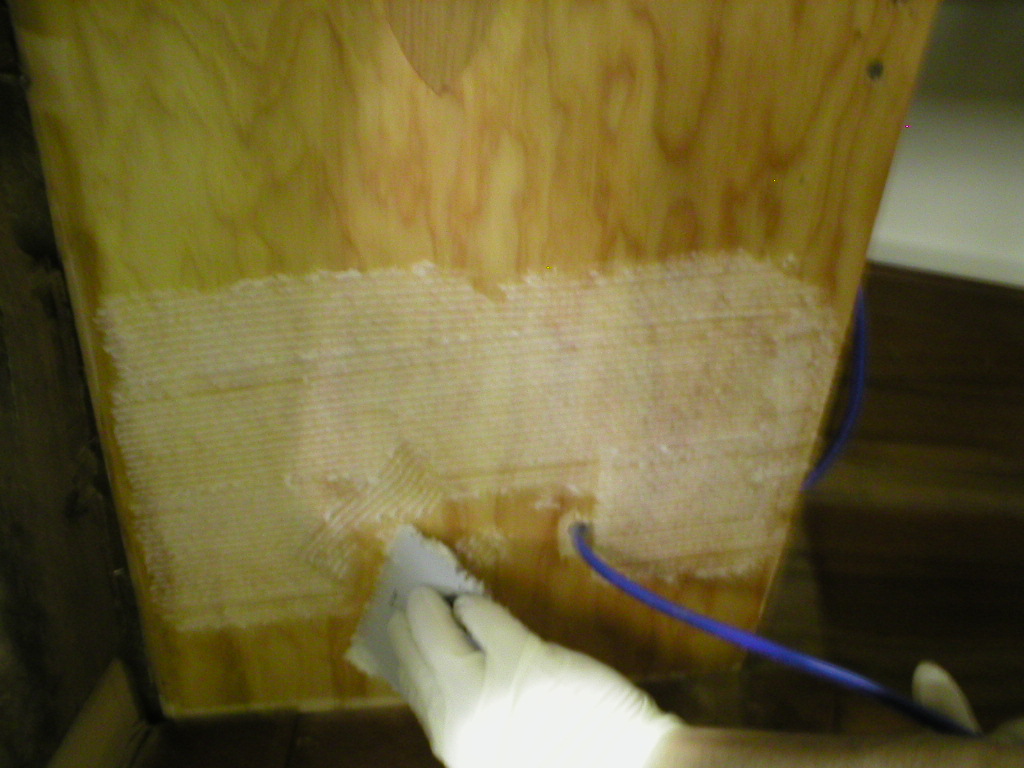
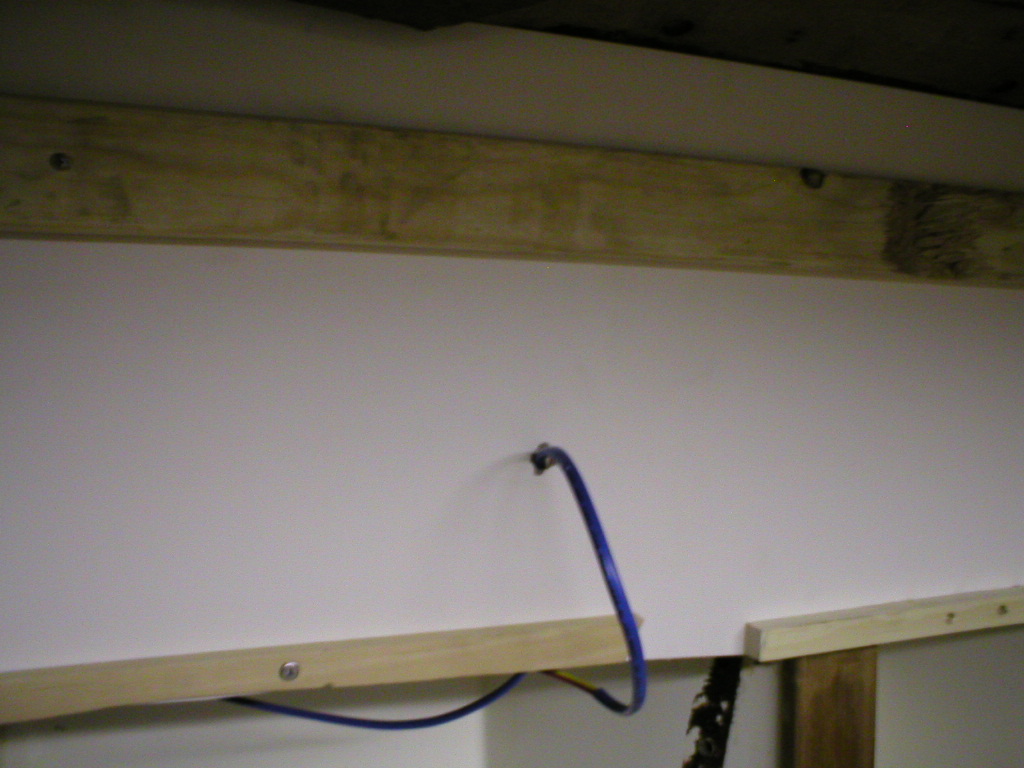
This was more difficult than you'd imagine, since the pieces were put in place before the bulkheads were installed, so they were trapped behind the bulkheads. We had to cut them out in pieces, which meant no nice pattern pieces to use later when cutting the new ones. In areas like the V-berth and heads, Neil laminated the plywood to the new white Formica faces before installing them. On the long saloon pieces, the plywood was epoxied in first, then the Formica second. He used West System epoxy throughout for strength and water-impermeability. Here are some pictures showing the process: grind fiberglass cabin sides, clean thoroughly with denatured alcohol; dry fit plywood to make sure it fits, drilling holes for electrical cords and marking port location for bracing; spread epoxy on cabin sides with notched trowel; epoxy wood in place; tension and brace; let dry; repeat with Formica if not already laminated together; when dry use router to cut out ports and trim bottom edge. Before we install the ports, we'll make sure the edges of the plywood are well-sealed with epoxy. By the way, Neil came up with a great system of using strapping outside the cabin and inside, screwed through the port openings, to tension the pieces to the curve of the cabin while drying. He also screwed strapping pieces along the bottom edge (into the wooden cleats behind that the trim secures to.) You can see it in this picture, it worked really well!