Pictures of refrigeration installation & other projects
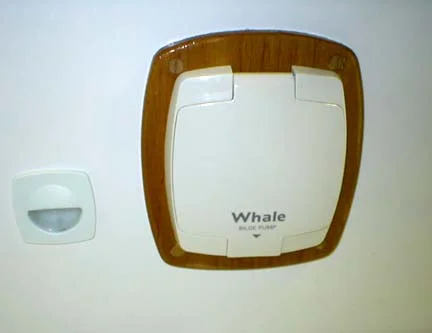
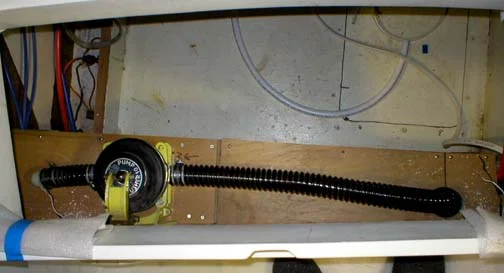
Okay, pictures!!!! Here are pix of projects we've been working on...... first, here's the cockpit manual bilge installation. Originally, the pump was mounted so that one had to open the cockpit locker lid in order to operate it. No good. We turned it sideways and installed a Whale through-bulkhead fitting for the handle. Now it can be easily operated from the helm. This shot is looking down into the cockpit locker with the lid open. And the second picture is of the nifty cover. (For you Cruising World Bulletin Board-ers, that thing next to it is- gasp!- a cockpit light!!!!!! One of these days I will post a pic of the cockpit speaker installation that y'all got so riled up about, too!)
Here are the lovely new coaming boxes Neil built and that we just finally installed. There are two locker boxes, and a shower box:


A few more random shots of projects coming together: here is the back of the main house battery switch, with it's lexan cover (we made similar covers for the main negative buss bar in the engine room, lighting busses, and the back of the main breaker panel.) Here's a shot of the back wall in the engine room, showing the washdown pump installation, some of the Whale hot/cold tubing, the blower, and the cockpit drain and manual bilge pump discharge. The manual pump and the small, secondary electric pump share one of the two large (2") cockpit drains; the large electric bilge pump will have it's own through-hull.


Our biggest current project is the refrigeration installation. You might recall that Neil's had the basic box liner built for quite a while now. We painted the interior with Interlux Brightsides and installed the shelving system (aluminum L-bracket pop-riveted to the sides which holds clear acrylic shelves and sliding baskets); the floor grate ("eggcrate" material meant for fluorescent lighting fixtures, held up off the bottom with small stand-offs to allow air circulation; the circulation hole and shutter between the freezer and refer side; and the custom made evaporator panel. The panel, of course, didn't fit, and we had to carefully rebend it to work.
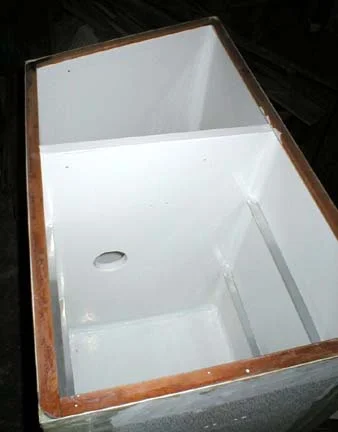
Next, Neil sealed the top (he'll cut through it when the hatch frames are in place) and - after carefully sanding and fairing any bumps or burrs - installed the VIP vacuum panels and foam board insulation. It was a frightening moment when we manhandled the box up the steep ladder and held our breath to see whether it would fit in the companionway. It just made it, and with no damage to the delicate VIP panels or coiled tubing... hooray! Here it is just set in place; and a close-up of the insulation:


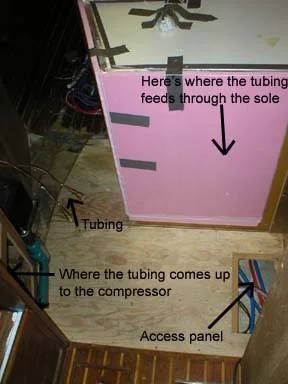
Feeding the tubing into the hole sawn in the 6" of foam under the box, through the sole, under the sole (with only some very inconveniently placed access panels to reach into, and up under the nav desk where the compressor lives- all without damaging or kinking the tubing- was not easy.
Finally, the cabinetry panels being dry fit.
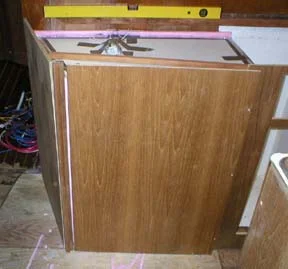
Of course, during the construction of the box things got out of skew a bit, so it was not a perfect fit into the available space. Luckily, nothing on boats is ever perfectly square and true anyway, so small discrepancies do not stand out. With some careful measuring and cutting and judicious filling in of voids with spray foam, it's looking really great (more pix to follow soon...)
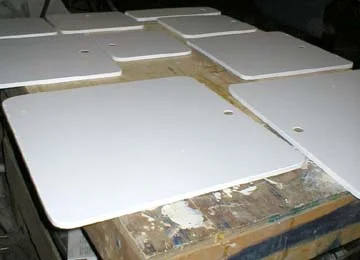
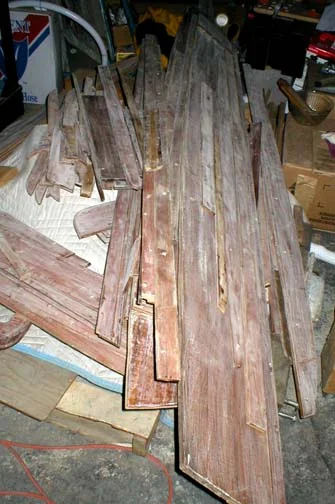
A few other odds and ends: I am painting all the berth tops (formerly just raw plywood) with white brightsides; here are the lids. Also here's a big pile of interior trim that has 2 coats of Epifanes gloss and is sanded for the next coat. It was so sad to sand them, since it WAS a big pile of gleaming, beautiful, varnished teak only an hour before!
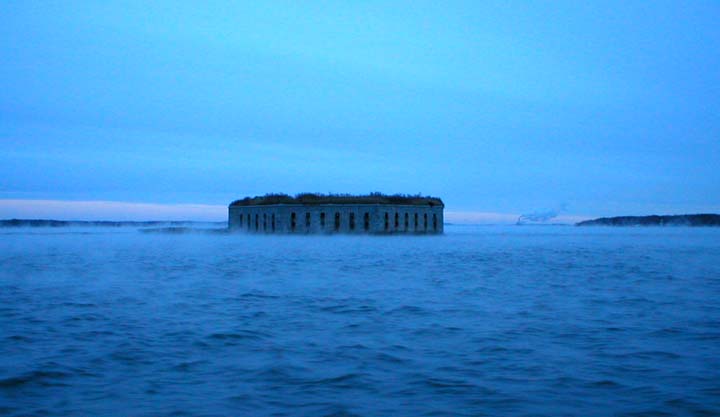
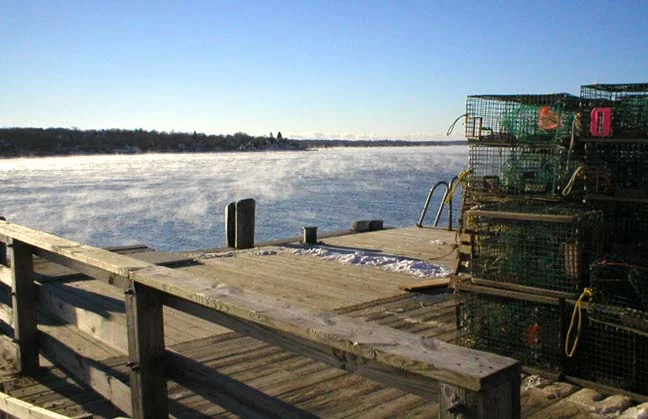
Meanwhile, it's been COLD out here. Sea smoke many mornings for the morning ferry commute: